3.Smart Video Car
The intelligent video car integrates all previous functions, including path following, light tracking, line tracking, ultrasonic obstacle avoidance, face detection, video transmission, and LED control. It is driven by a server on the Raspberry Pi and can be remotely controlled within the local area network (LAN) using a computer or smart phone.
Server
The server operates on a Raspberry Pi, capable of transmitting data from cameras, ultrasonic sensors, and other sensors back to the client, as well as receiving commands from the client.
After you have finished burning the image we provided and configured the WiFi, you insert the SD card into the Raspberry Pi, install the battery, and power it on. The server will automatically start, and at this point, the OLED screen will display the current car’s IP address.
You can then use your smartphone or computer to control it through the corresponding client.
Client
The client connects to the server via TCP, receiving video streams and commands from the server, and can also send commands to the server to control the car. The client can run on different operating systems, including Android, Windows, iOS, and macOS. You can download it from the following four links respectively:
Android App

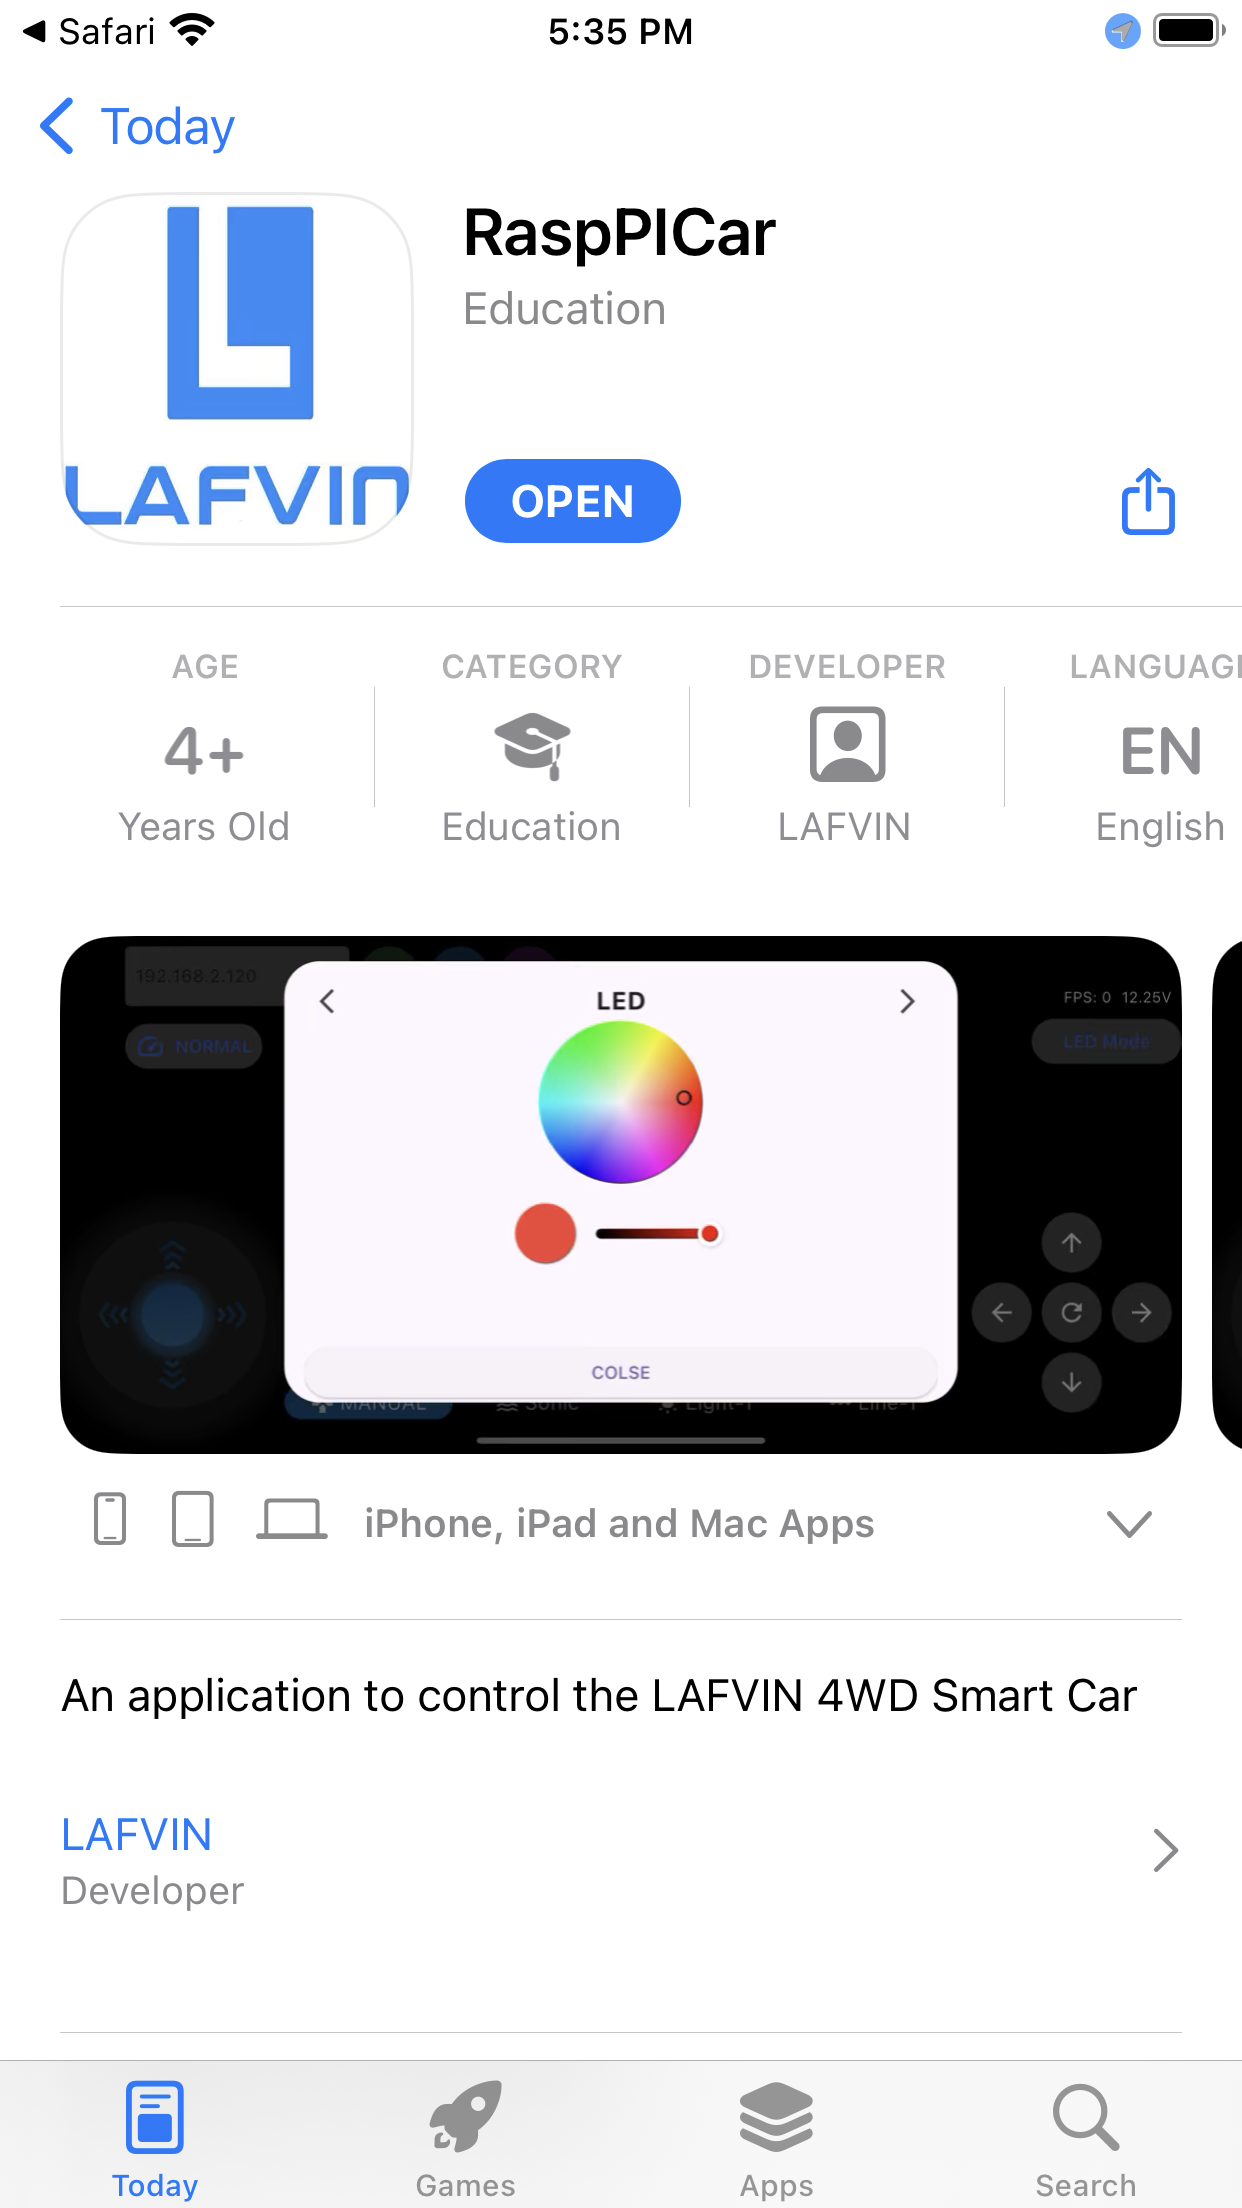
iOS App
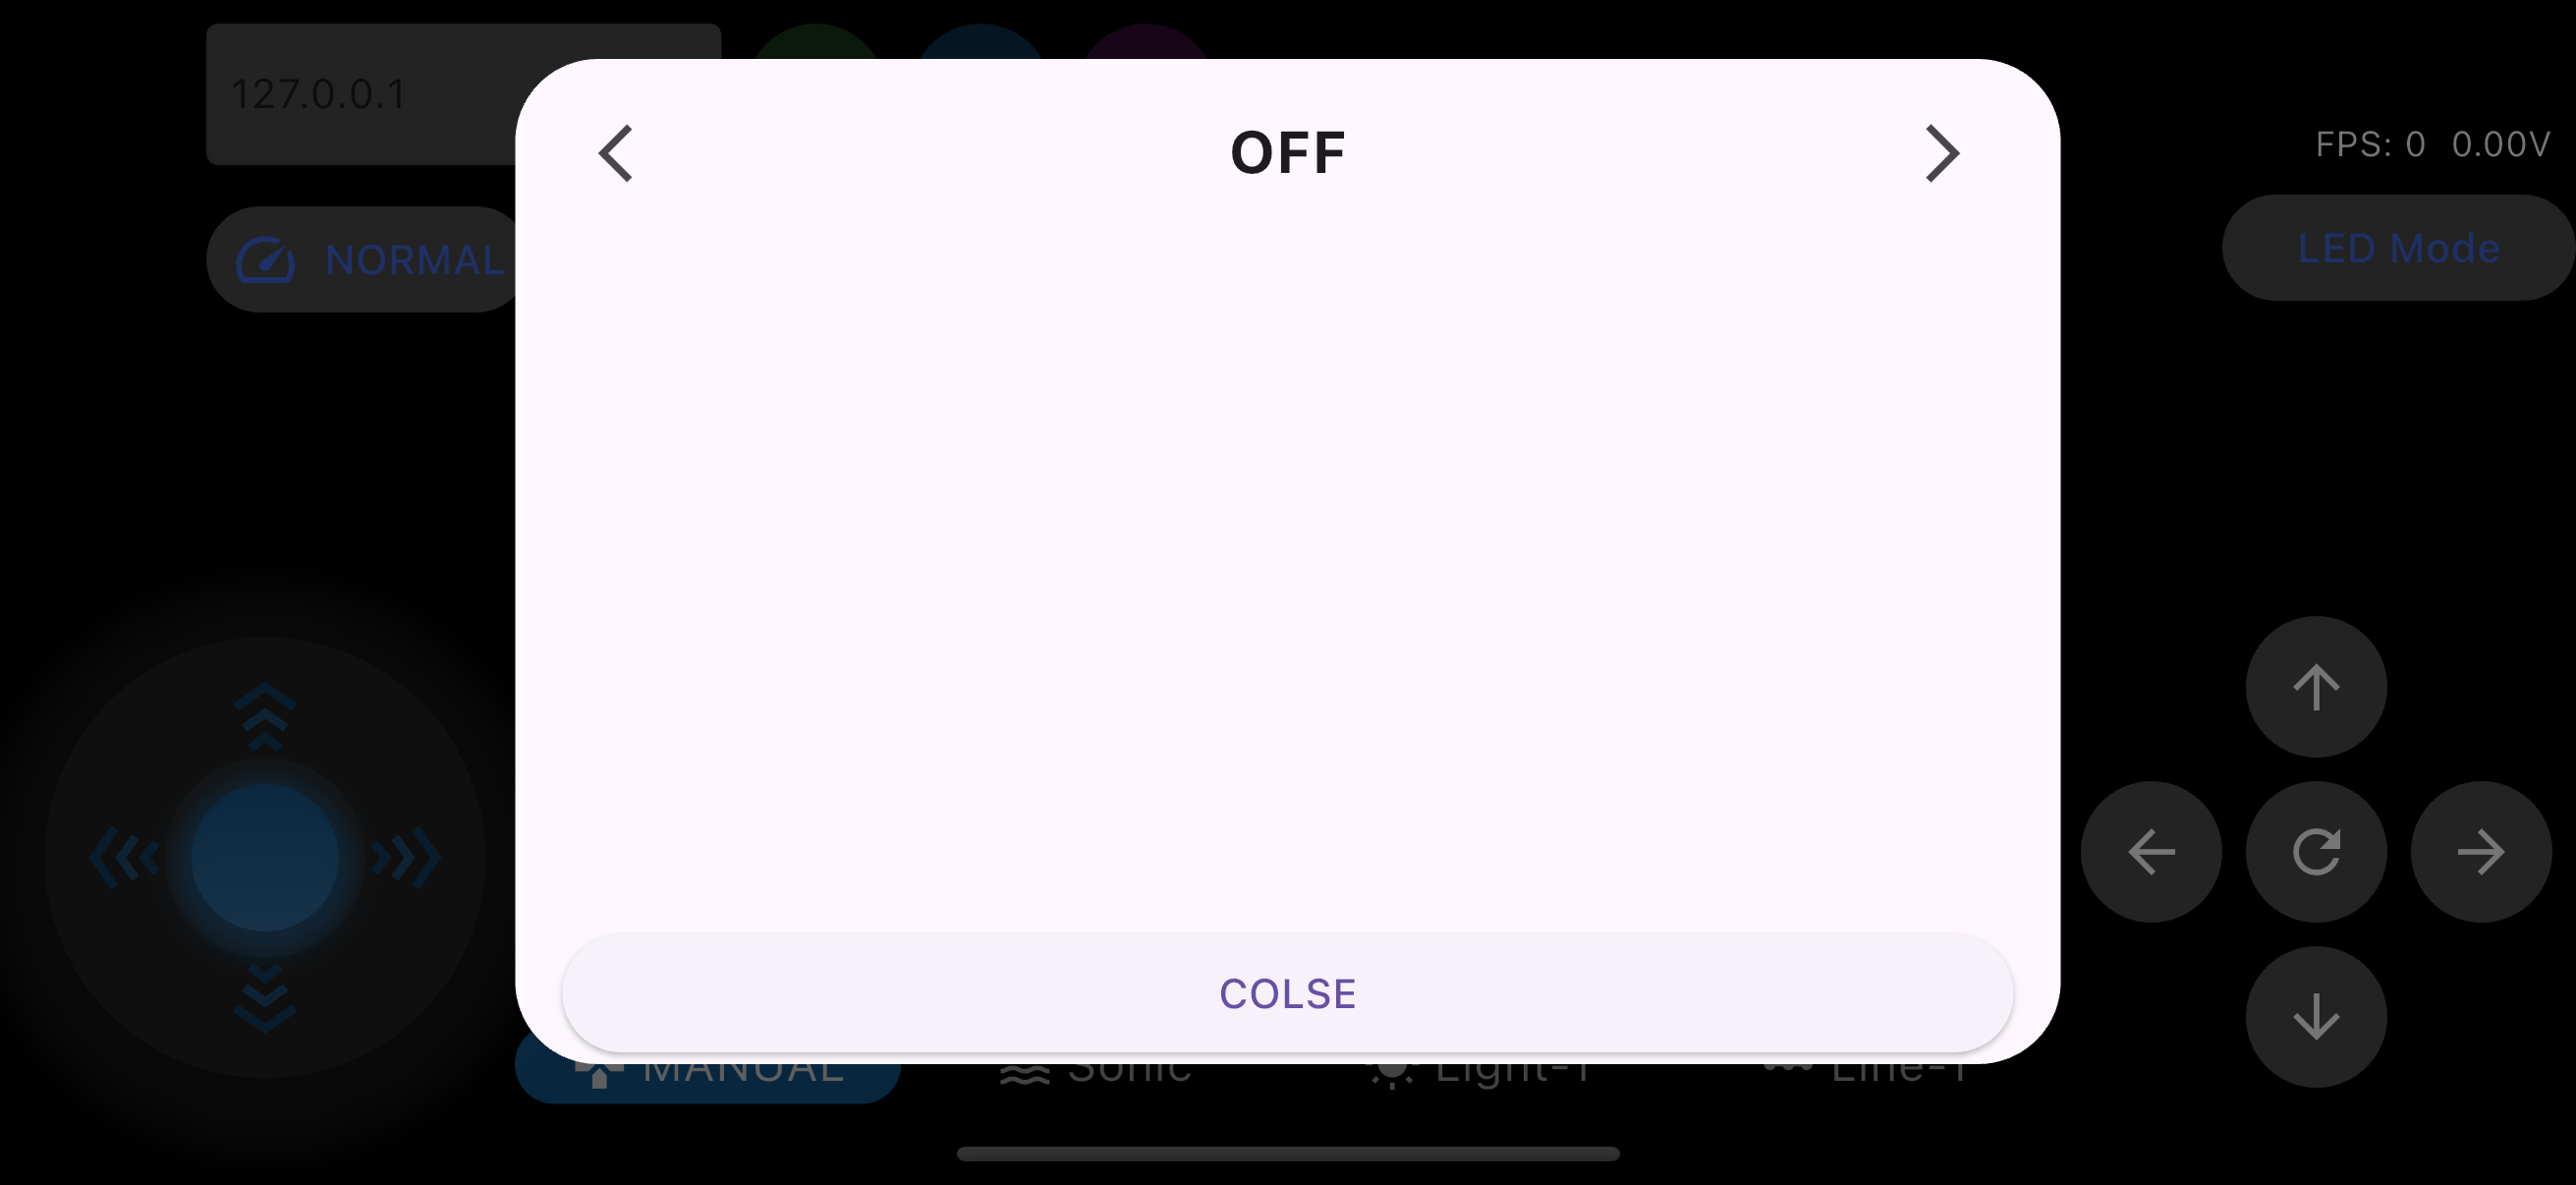
After downloading and opening the app, you will see this interface:

In the top left corner is the IP input box and the connection button, on the right are some buzzer and screenshot buttons, and below are the speed adjustment buttons.

By clicking the speed adjustment button, you can select the three modes of the car.
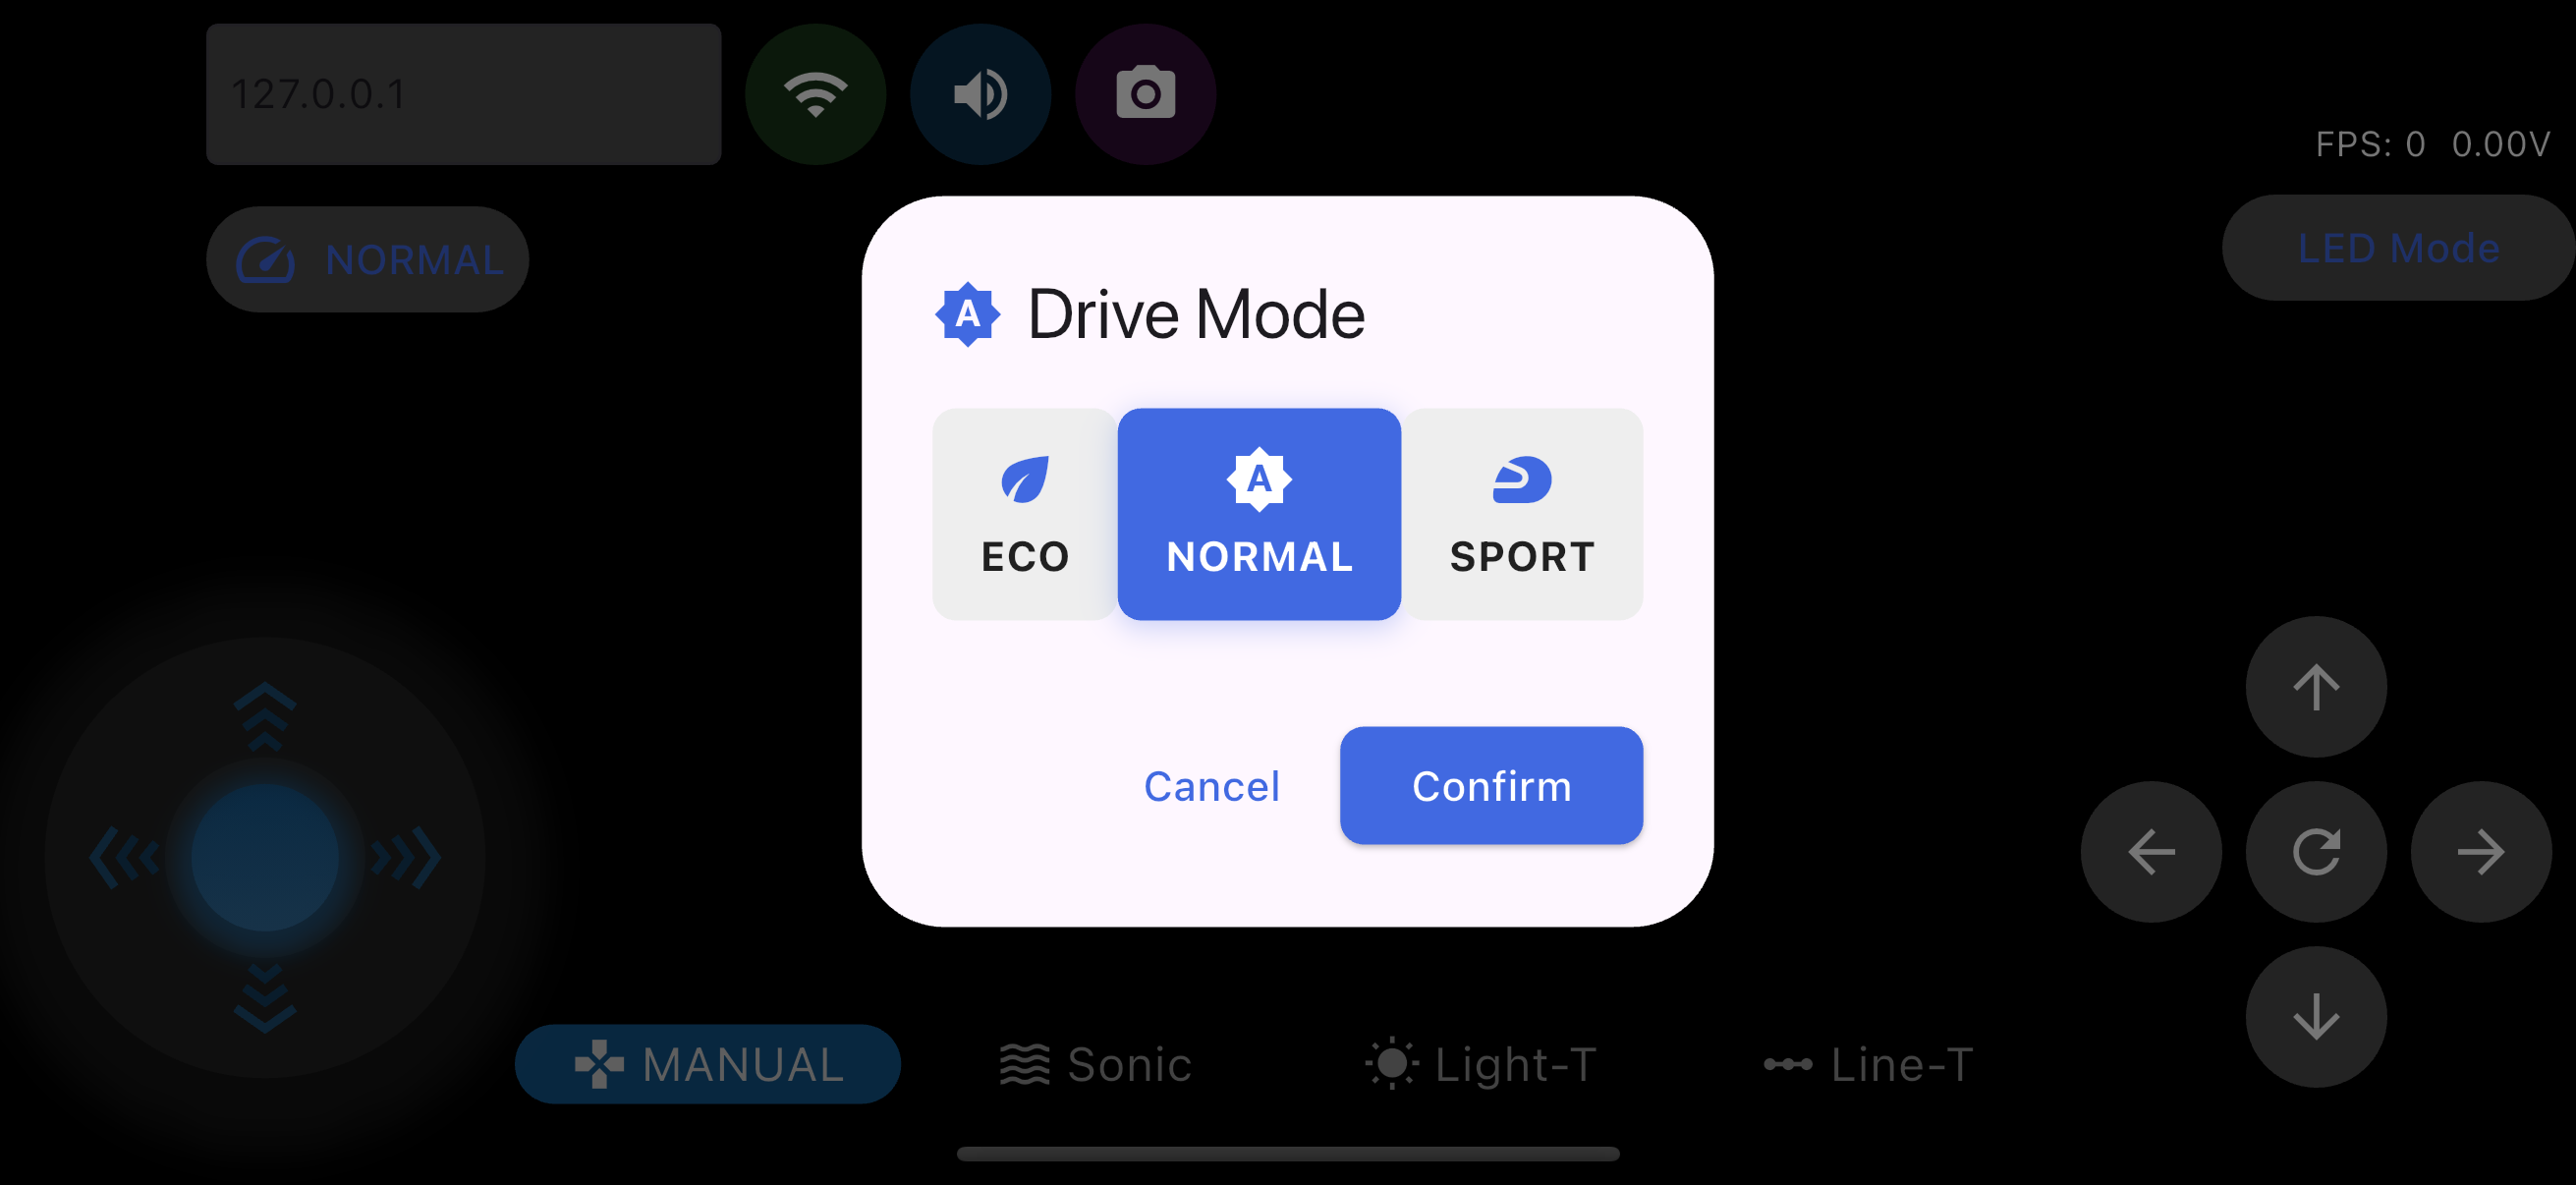
The top right corner shows FPS and voltage information, and below is the LED light mode switch button.

In the bottom left corner is the joystick, which controls the movement of the car. Directly below is the car’s mode switch button, and in the bottom right corner is the servo control button.

The interface on the computer is similar to that on the mobile phone.
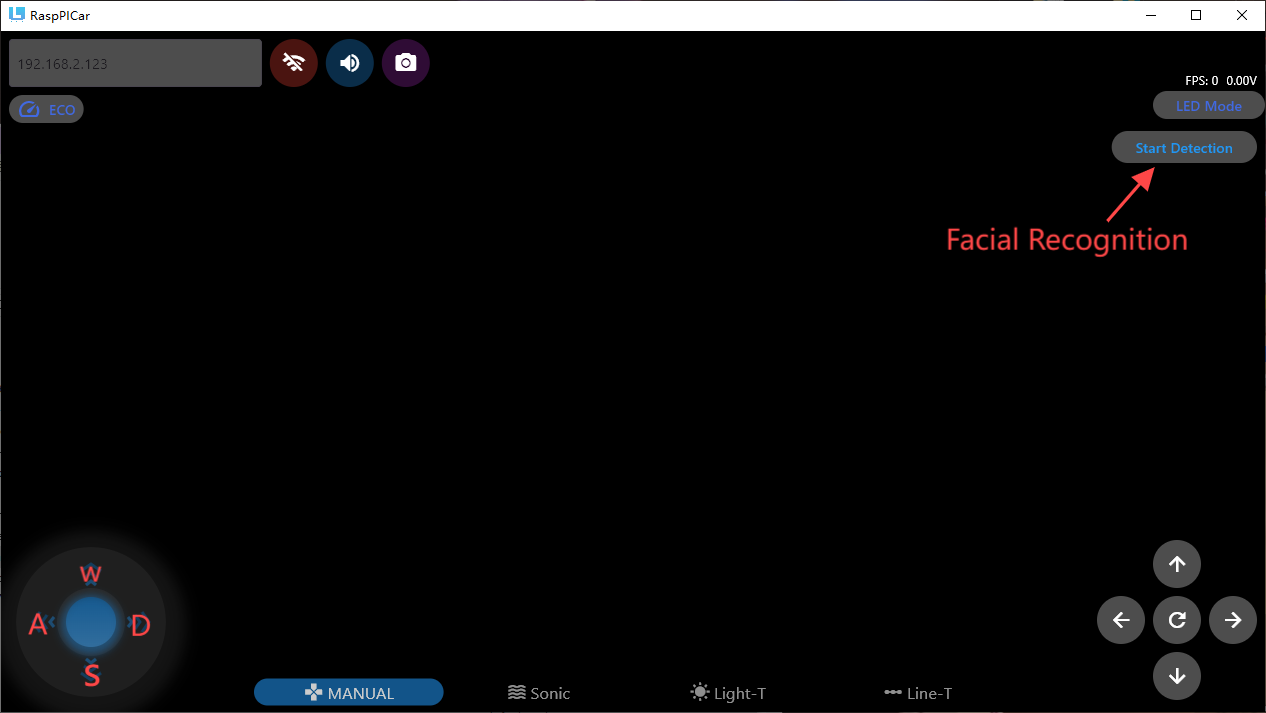
A new feature added on the computer is facial recognition. Once enabled, the steering mechanism of the car will follow the movements of the face.
Additionally, you can control the car using the keyboard.
WASD can control the car’s forward, backward, left, and right movements, while the arrow keys can control the steering mechanism of the car.
Next
After your Raspberry Pi system has been successfully burned and the smart car assembled, and you have installed three 18650 batteries into the car,
Once powered on, after a while you will see the OLED screen display that it is acquiring an IP. If your WiFi settings are correct, you should be able to obtain an IP quickly. Then the car’s buzzer will beep, indicating that the main service program of the car has started. At this point, you can open your app, enter the IP address shown on the OLED screen, and click the connect button to see the camera view of the smart car.
Note
Note that it is best to place the car on the ground before powering on, not on a table, to avoid damage from accidental operation.
After that, we can use the app to control the smart car, including the car’s movement, the angle of the servo, switching the driving mode of the car, controlling the speed of the car, and controlling the RGB lights of the car.
Need Help?
tech_edu_service@outlook.com