2.Assemble Smart Car
Or you can download the Installation Tutorial Video
First, after confirming that the system has been flashed successfully, Wi-Fi has been configured, and the car has been assembled, you can power on the car and start using it.
Install three fully charged 18650 batteries in the battery holder on the bottom of the car, making sure the polarity is correct. Then press the Power Switch and Load Switch in order. This powers the baseboard, the Raspberry Pi, and the connected load devices.
Note
During the first startup after flashing, the Raspberry Pi needs time to initialize, so the OLED screen may remain blank at first. Wait about 2 minutes, then use the Power Switch to turn the car off and on again. After the second startup, the OLED screen should display normally.
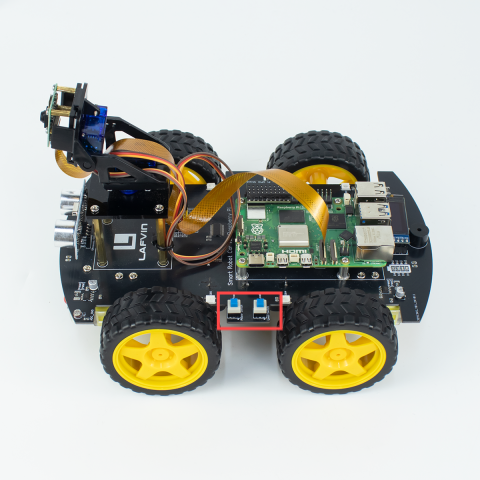
After that, you should see the OLED display working normally.
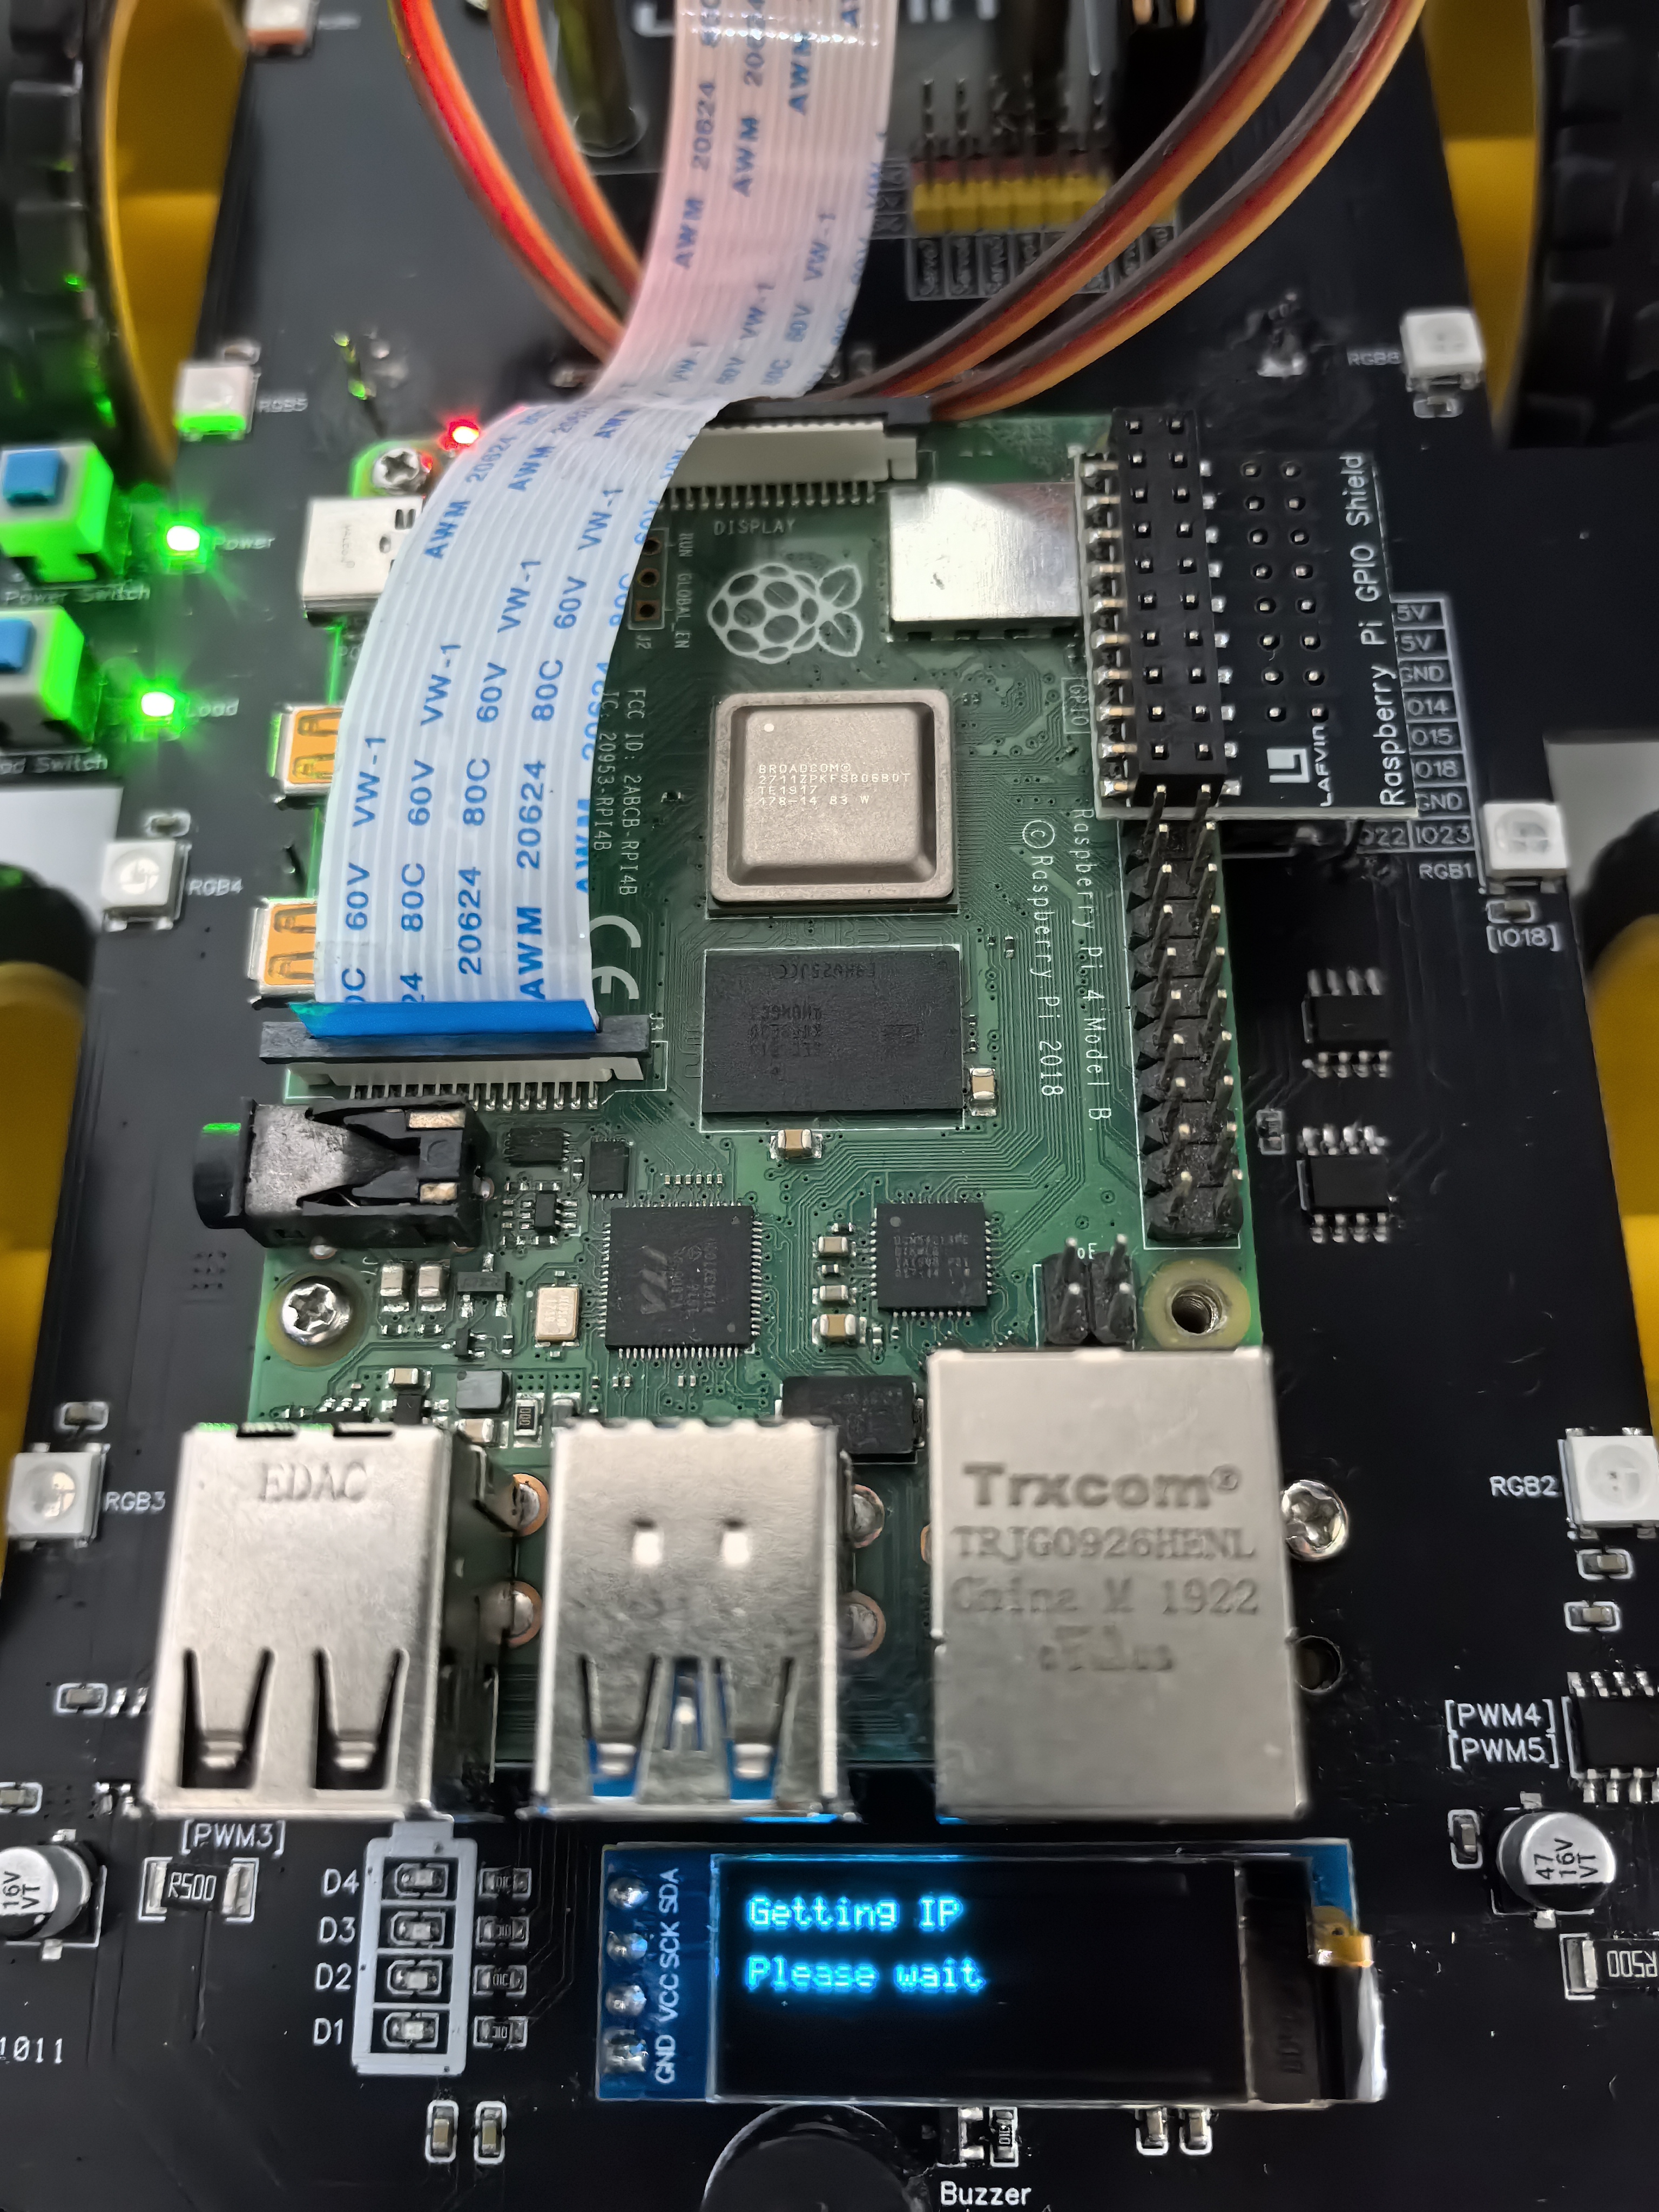
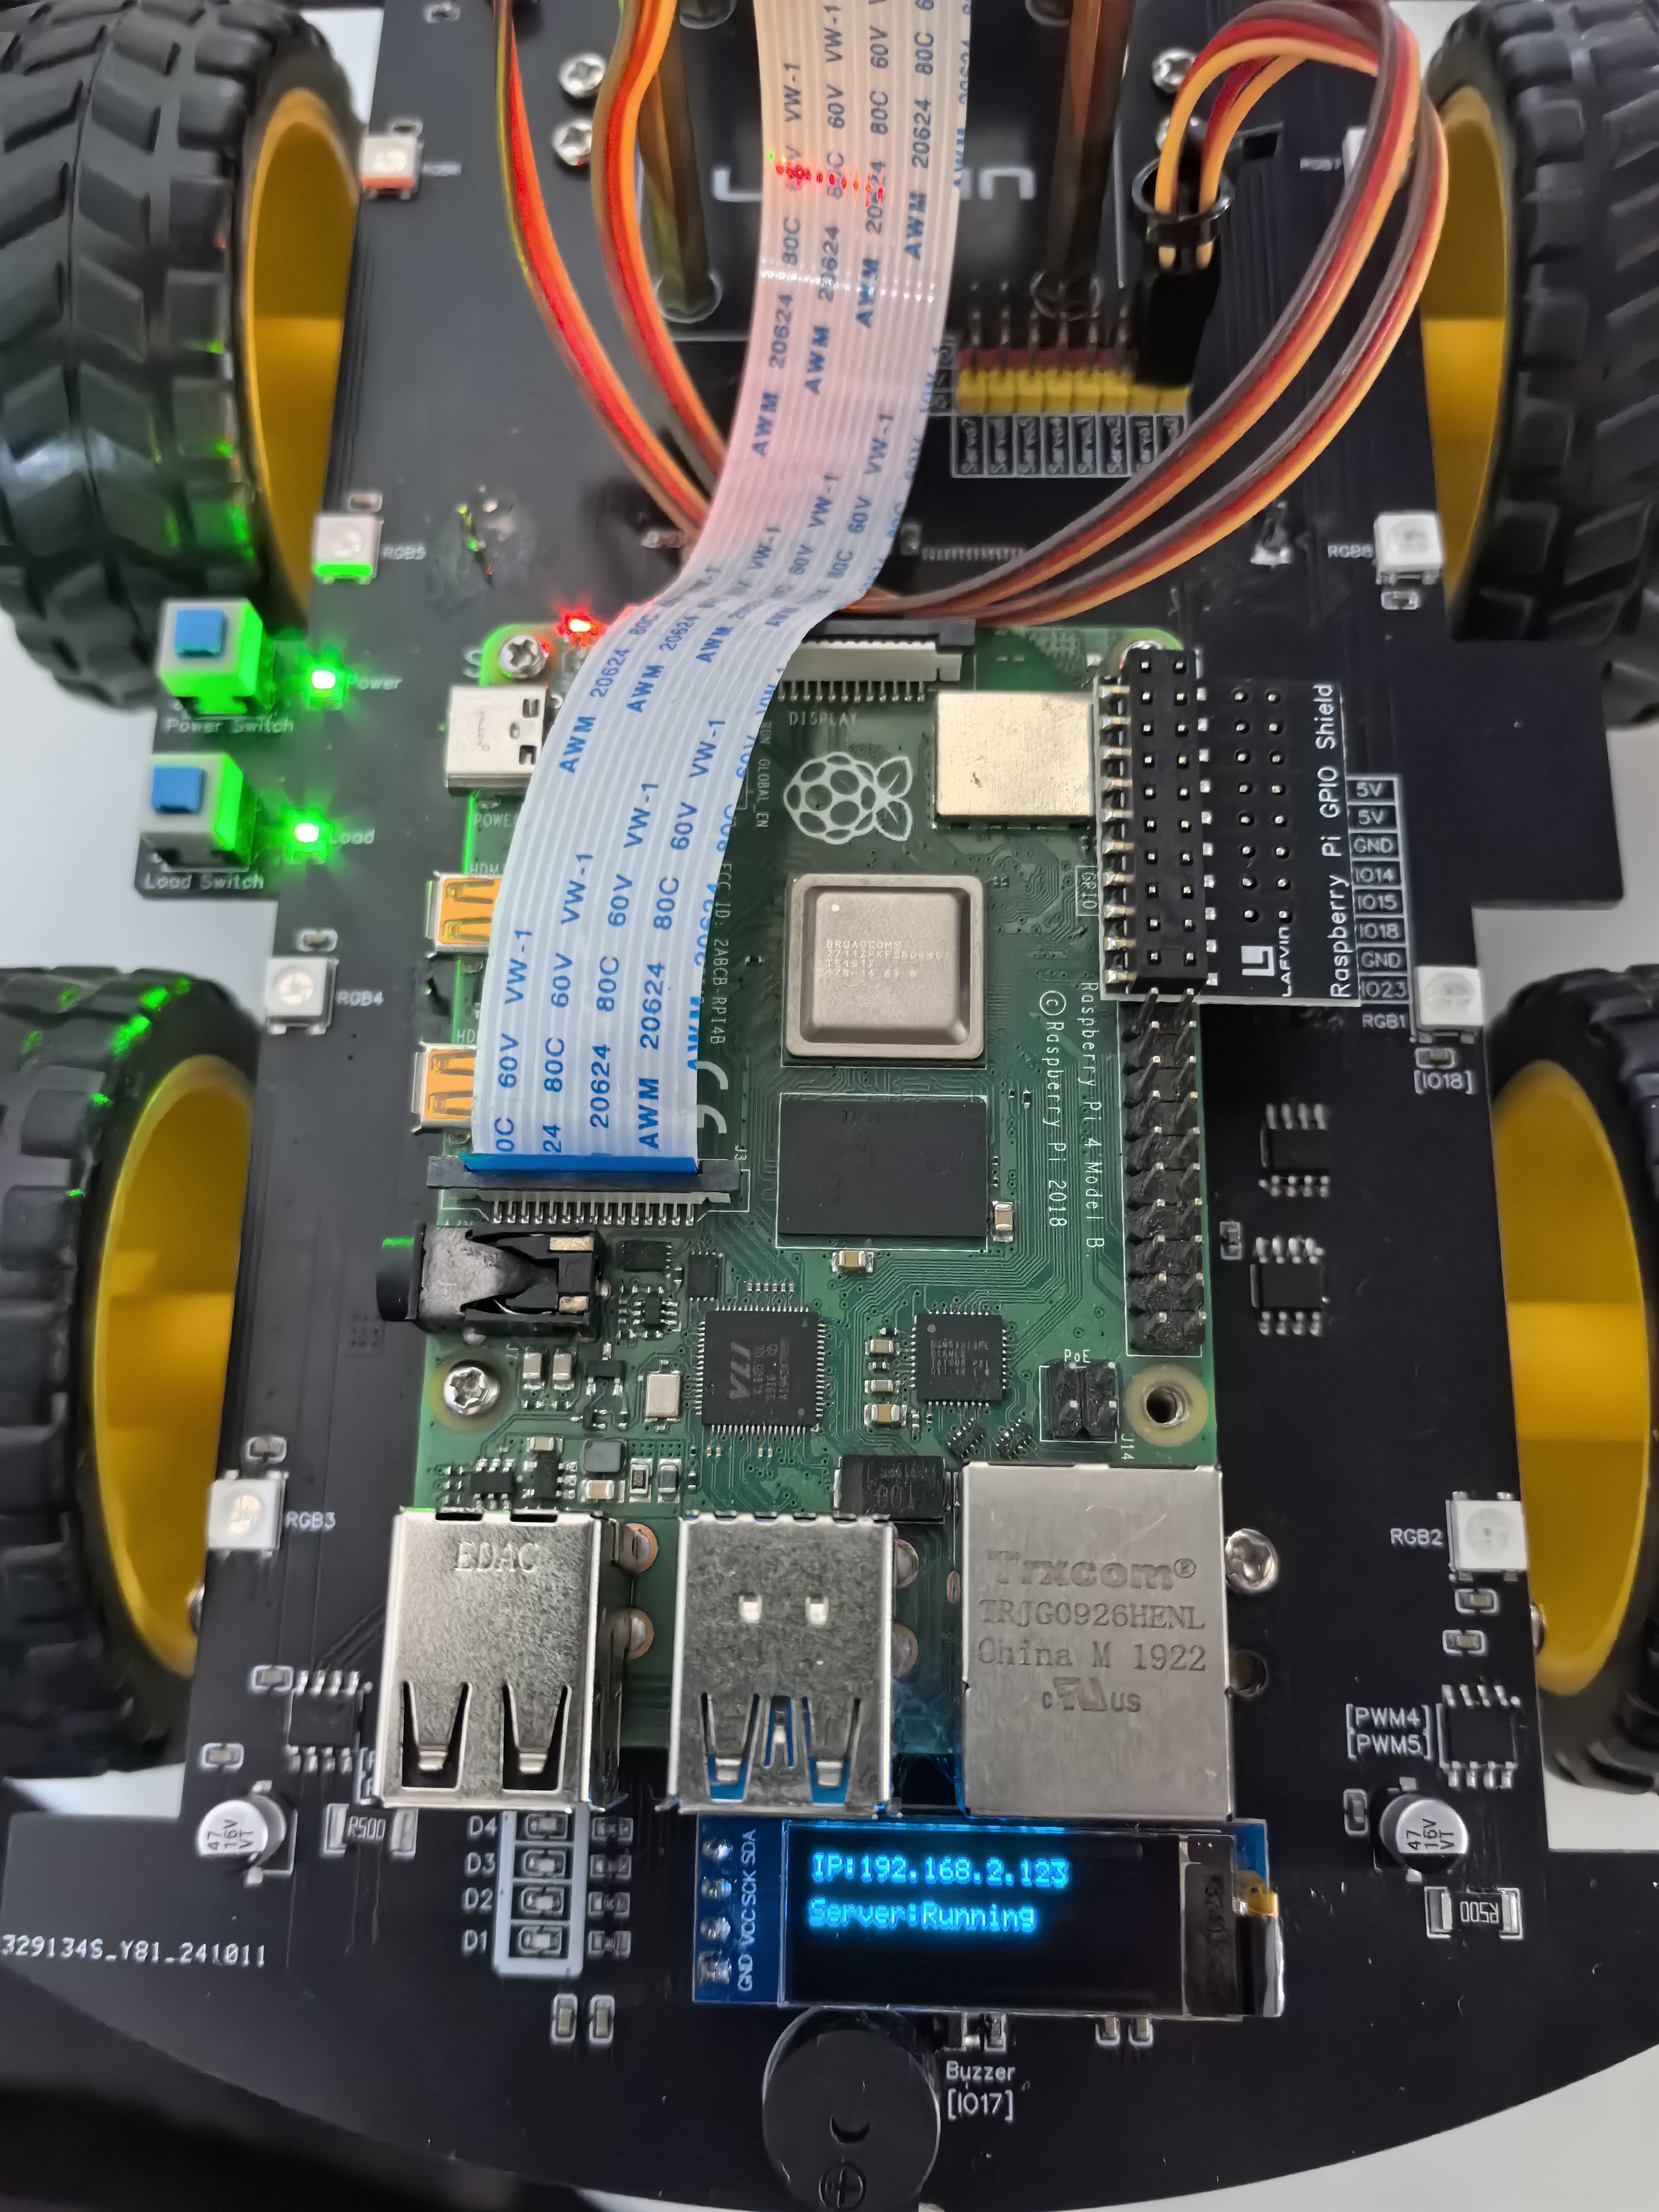
Once we can see the OLED display as described above, it means the system has obtained an IP address, which is the normal behavior. If the system fails to obtain an IP address and the OLED screen displays IP not found please refer to the steps in the following section, specifically Step 5, to check your WiFi configuration during the burning process and re-burn the system if necessary.

Need Help?
tech_edu_service@outlook.com